Discover curated treasures for everyday living!
How to Decorate a Christmas Tree Like a Designer (Step by Step)
11/27/20256 min read
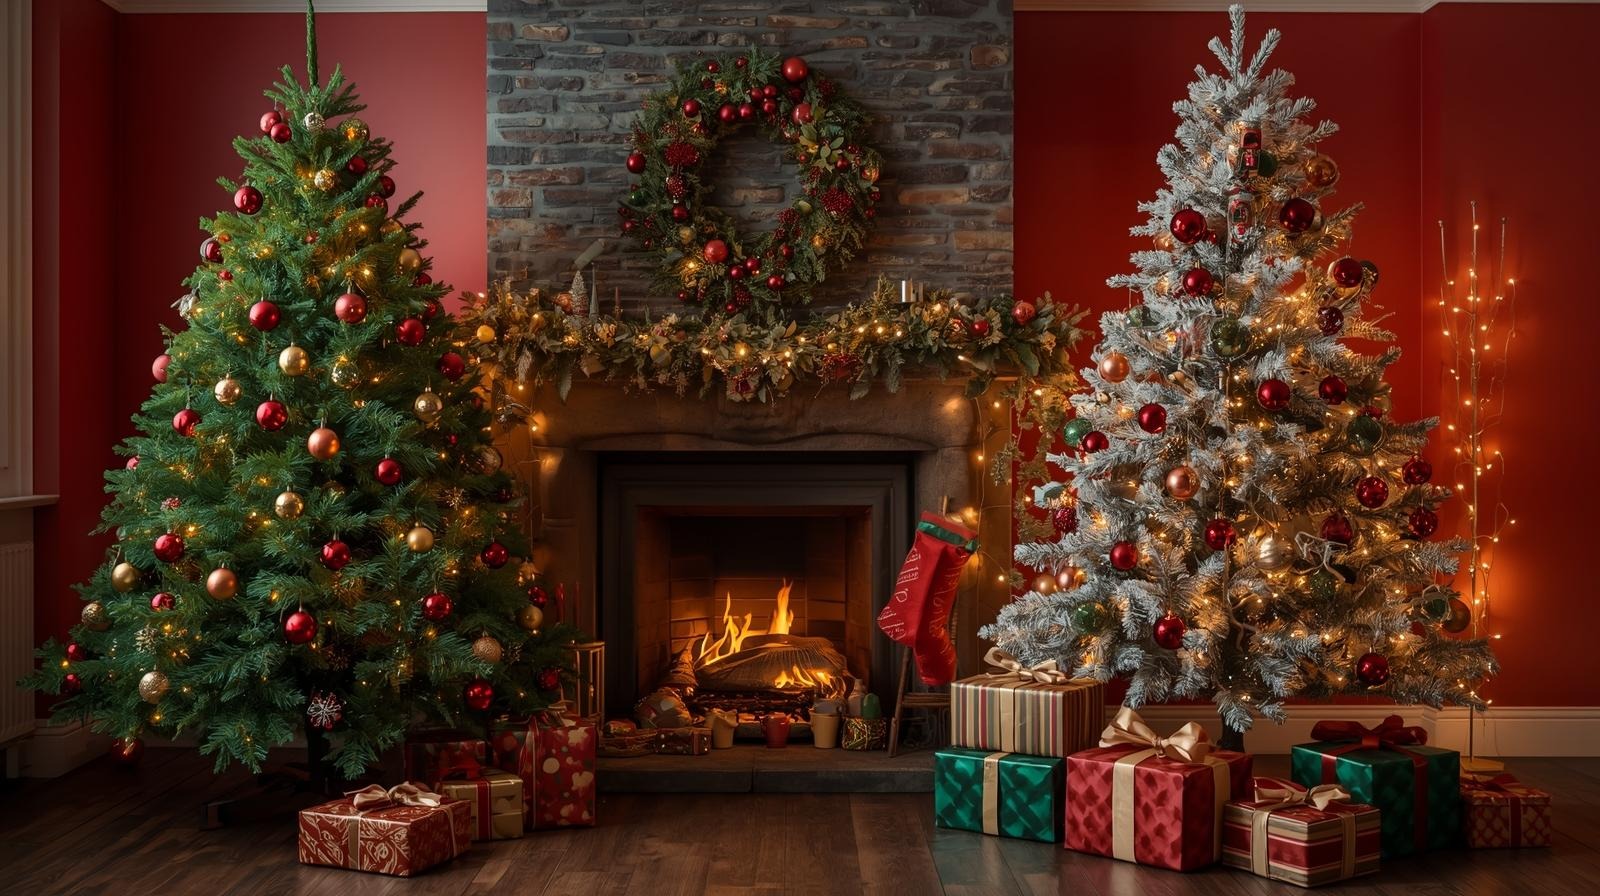
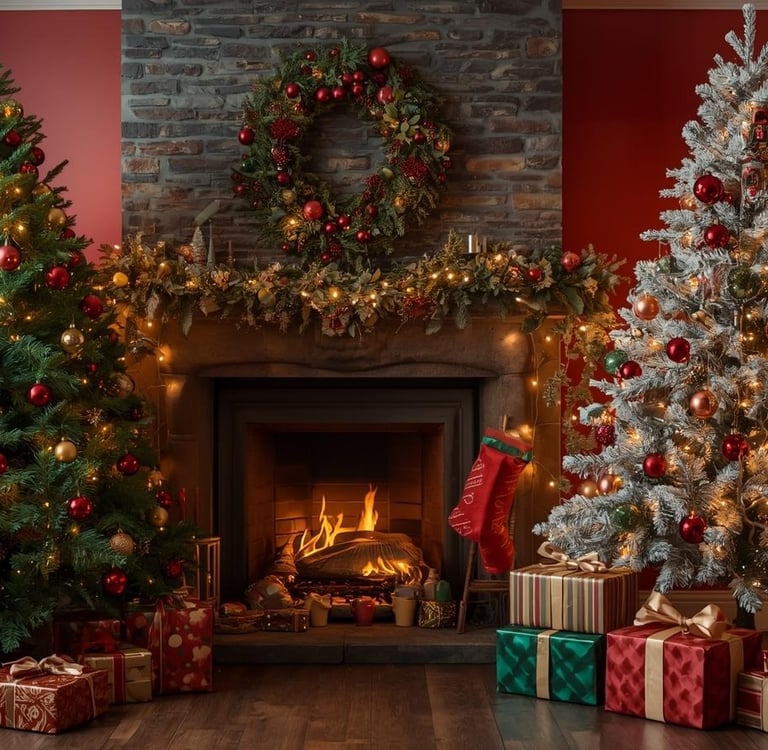
There’s just something about decorating the Christmas tree that brings out the kid in all of us. The scent of pine, the sound of your favorite holiday playlist, the glow of the lights—it’s pure magic.
But let’s be honest: getting your tree to look like the ones in magazines or designer showrooms can feel... intimidating. The good news? You don’t need a stylist or a fancy budget to pull it off. You just need a few insider tricks, a bit of planning, and a sprinkle of creativity.
So, grab your cocoa (or maybe a glass of wine), and let’s walk through how to decorate your Christmas tree like a pro—without losing that cozy, lived-in warmth that makes it feel like home.
Step 1: Pick the Right Tree (It’s More Important Than You Think)
Before the ornaments and ribbons come out, it all starts with the tree itself.
If you love that fresh pine smell and the charm of something real, a Fraser or Douglas Fir is a classic choice. They hold ornaments beautifully and have that perfect Christmas scent. Just remember to water it regularly so it doesn’t dry out by Christmas Eve.
Prefer less mess? Artificial trees have come a long way. These days, they’re full, realistic, and easy to set up year after year. Flocked trees—those pretty “snow-dusted” ones—are especially popular for a dreamy winter wonderland vibe.
No matter which you choose, size and shape matter. Measure your space first (trust me, we’ve all underestimated before), and leave enough room for the topper. If you’re tight on space, go for a slimmer tree that still looks elegant but won’t crowd the room.
Step 2: Set the Stage
You wouldn’t start painting a wall without prepping it, right? Same goes for your tree.
Fluff every branch—yes, every single one. Spread them out so the tree looks full and natural. If it’s real, trim any wonky spots and make sure it’s standing straight and secure in its base.
Once your tree is stable and fluffed, take a moment to step back and make sure it’s centered and balanced. The magic happens when you treat this part like the foundation of a design project—it’s where all the elegance begins.
Step 3: Let There Be Light
Lighting makes or breaks your tree. It’s what gives everything that soft, magical glow that pulls people in.
Here’s the rule of thumb: about 100 lights per foot of tree. If you’ve got a 7-foot tree, you’re looking at roughly 700 lights. Start from the base and weave your way up, wrapping lights around each branch and tucking them in and out for depth.
Pro tip: use warm white lights for that classic, cozy feel. If you love color, go for soft golds or muted tones instead of the harsh, blinking rainbow lights from the ‘90s (unless you’re going for nostalgia—then have fun with it!).
When you’re done, plug it in, step back, and bask in that twinkly glow. That’s the first “wow” moment.
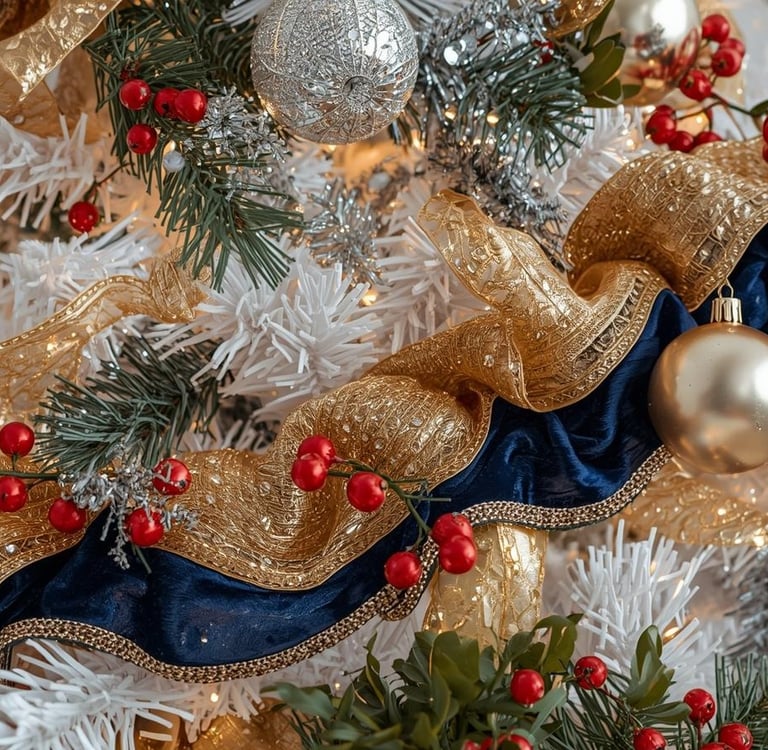
Step 4: Add Some Texture with Garlands and Ribbon
Now we’re moving into the fun stuff. Garlands and ribbons are what give your tree that layered, designer look.
For a traditional feel, go with lush greenery garlands or classic tinsel. For something elegant, try velvet or silk ribbon in your chosen color palette—gold, cream, and champagne always look timeless.
The trick is to weave, not wrap. Start from the top and drape downward, letting the ribbon cascade in soft waves instead of circling the tree like a maypole. It feels effortless but still intentional.
You can even mix a few types—say, one satin ribbon and one with a bit of sparkle—for texture and contrast.

Step 5: Time for Ornaments (This Is Where the Magic Happens)
This part’s where your tree really starts to come alive.
Start with the biggest ornaments first. Place them deep inside the branches to give your tree depth and fullness. Then, layer in your medium and smaller ornaments toward the outer edges.
Mix up finishes—matte, shiny, glittered—to keep the eye moving. Choose about three to four colors max that complement each other. Maybe it’s gold, ivory, and blush for a soft romantic look, or red, green, and silver for something more classic.
And please, don’t forget personality! Slip in a few sentimental pieces—like your child’s handmade ornament, a keepsake from a past trip, or something vintage from your grandmother. That’s what makes your tree yours.
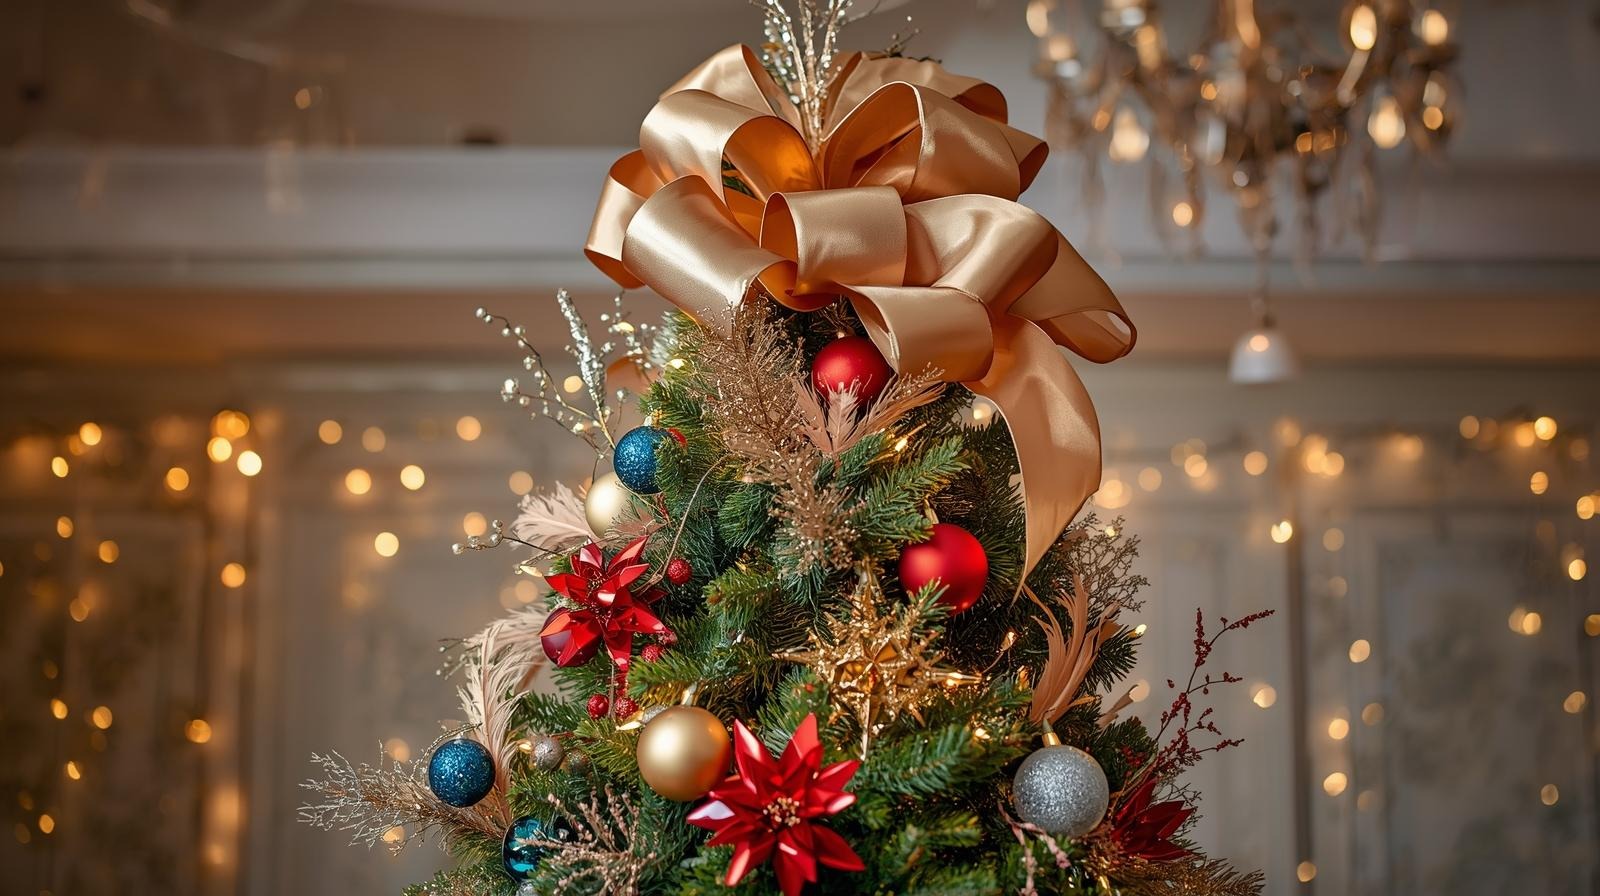
Step 6: Crown It with Something Beautiful
Every queen needs her crown, right?
The tree topper is the finishing touch that brings everything together. A traditional star or angel is timeless, but if you want something fresh, try a bow made from the same ribbon you used on the tree, or even a cluster of metallic stems or feathers for a modern twist.
Whatever you choose, make sure it balances the rest of your décor—this isn’t the place to go rogue with a random neon snowflake (unless that’s your vibe, in which case, rock it).

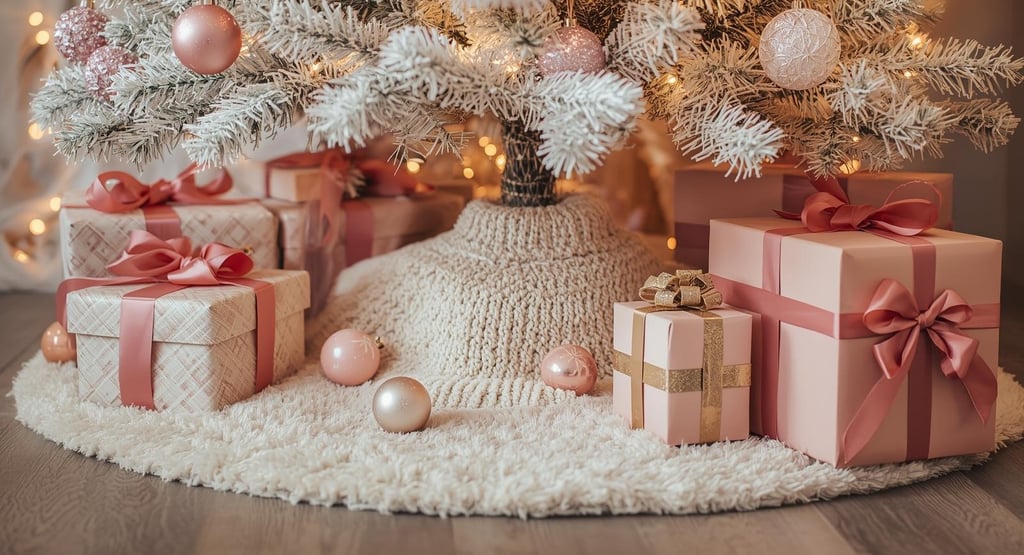
Step 7: Don’t Forget the Bottom Half
A beautifully decorated tree needs an equally pretty base.
A tree skirt or collar ties the whole look together and hides that not-so-glamorous stand. Go with something textured—chunky knit, burlap, faux fur, or linen. It grounds the design and makes the whole setup look intentional.
If you’ve got gifts wrapped already, coordinate your wrapping paper to your tree’s colors. Matching ribbons, paper, and tags make your display look straight out of a designer catalog.

Step 8: Add Some Finishing Touches
Once your tree looks complete, take a step back and scan for empty spots or uneven areas. You can tuck in a few filler ornaments, small picks, or sprigs of faux berries or eucalyptus to add fullness.
For extra sparkle, place a mirror or metallic tray behind or near your tree—this reflects the light and makes your space look even more glowy.
Then, turn off the room lights and let the tree glow on its own. That’s your moment.
Designer Tips You’ll Actually Use
If you want your tree to look like a designer styled it, here are a few insider secrets:
Stick to a color story. Choose two or three colors max and use them consistently. This is what makes designer trees look cohesive, not chaotic.
Play with scale. Big ornaments go deep, smaller ones on the edges. The variety keeps your tree interesting.
Layer your textures. Mix shiny with matte, velvet with glass, rustic wood with metallics. It’s all about balance.
Think in zones. Mentally divide your tree into sections (top, middle, bottom) and make sure each part feels balanced—don’t overload one side!
Add something natural. A few pinecones, dried orange slices, or cinnamon sticks give your tree that cozy, organic feel.
Trending This Year: A Few Fresh Ideas
If you like to stay a little on-trend, here’s what’s big in Christmas décor right now:
Jewel tones: Deep emerald, burgundy, navy, and gold. Luxurious but cozy.
Nature-inspired: Wooden beads, paper ornaments, greenery, and dried fruit.
Old World charm: Vintage glass ornaments, lace ribbon, and candle-style lights.
Scandi minimalism: Simple neutral palette, lots of texture, cozy vibes.
You don’t have to follow every trend—pick one or two elements that speak to you and blend them with your classic style. That’s how you keep your tree looking timeless but current.
Make It Yours
At the end of the day, your Christmas tree doesn’t have to look like it came from a showroom. It just has to feel like home.
If your tree tells your family’s story—if it’s full of love, laughter, and memories—then it’s perfect.
Put on your favorite Christmas music, invite the kids or grandkids to hang the last few ornaments, and make a night of it. Take pictures, laugh, snack on cookies, and enjoy the process. Because that’s what decorating a tree is really about.
So, go ahead—turn up the lights, fluff those branches, and let your inner designer shine.
Your Christmas tree doesn’t need to be perfect. It just needs to feel like Christmas.
*DISCLOSURE: As an Amazon Associate I earn from qualifying purchases.
Treasures
Curated finds for a beautiful, simple life.
Shop
Inspire
© 2025. All rights reserved.